The Tower
Virtual Reality game using XVR engine and HTC Vive, final project of the “Ambienti Virtuali” course
TheTower Project Presentation
Virtual Reality game using XVR engine and HTC Vive, final project of the “Ambienti Virtuali” (Virtual Environments) course
TheTower

The main idea of the game is a puzzle, a tower with many different levels whose completion will open the elevator’s doors to reach the next level.
Levels
The game has actually a total of 8 levels:
LevelMenu: This level will show a list of all the levels allowing the player to choose one of the levels to play.
Level0: Probably the most important level in the game, creates the elevator and initialize variables used by other levels.
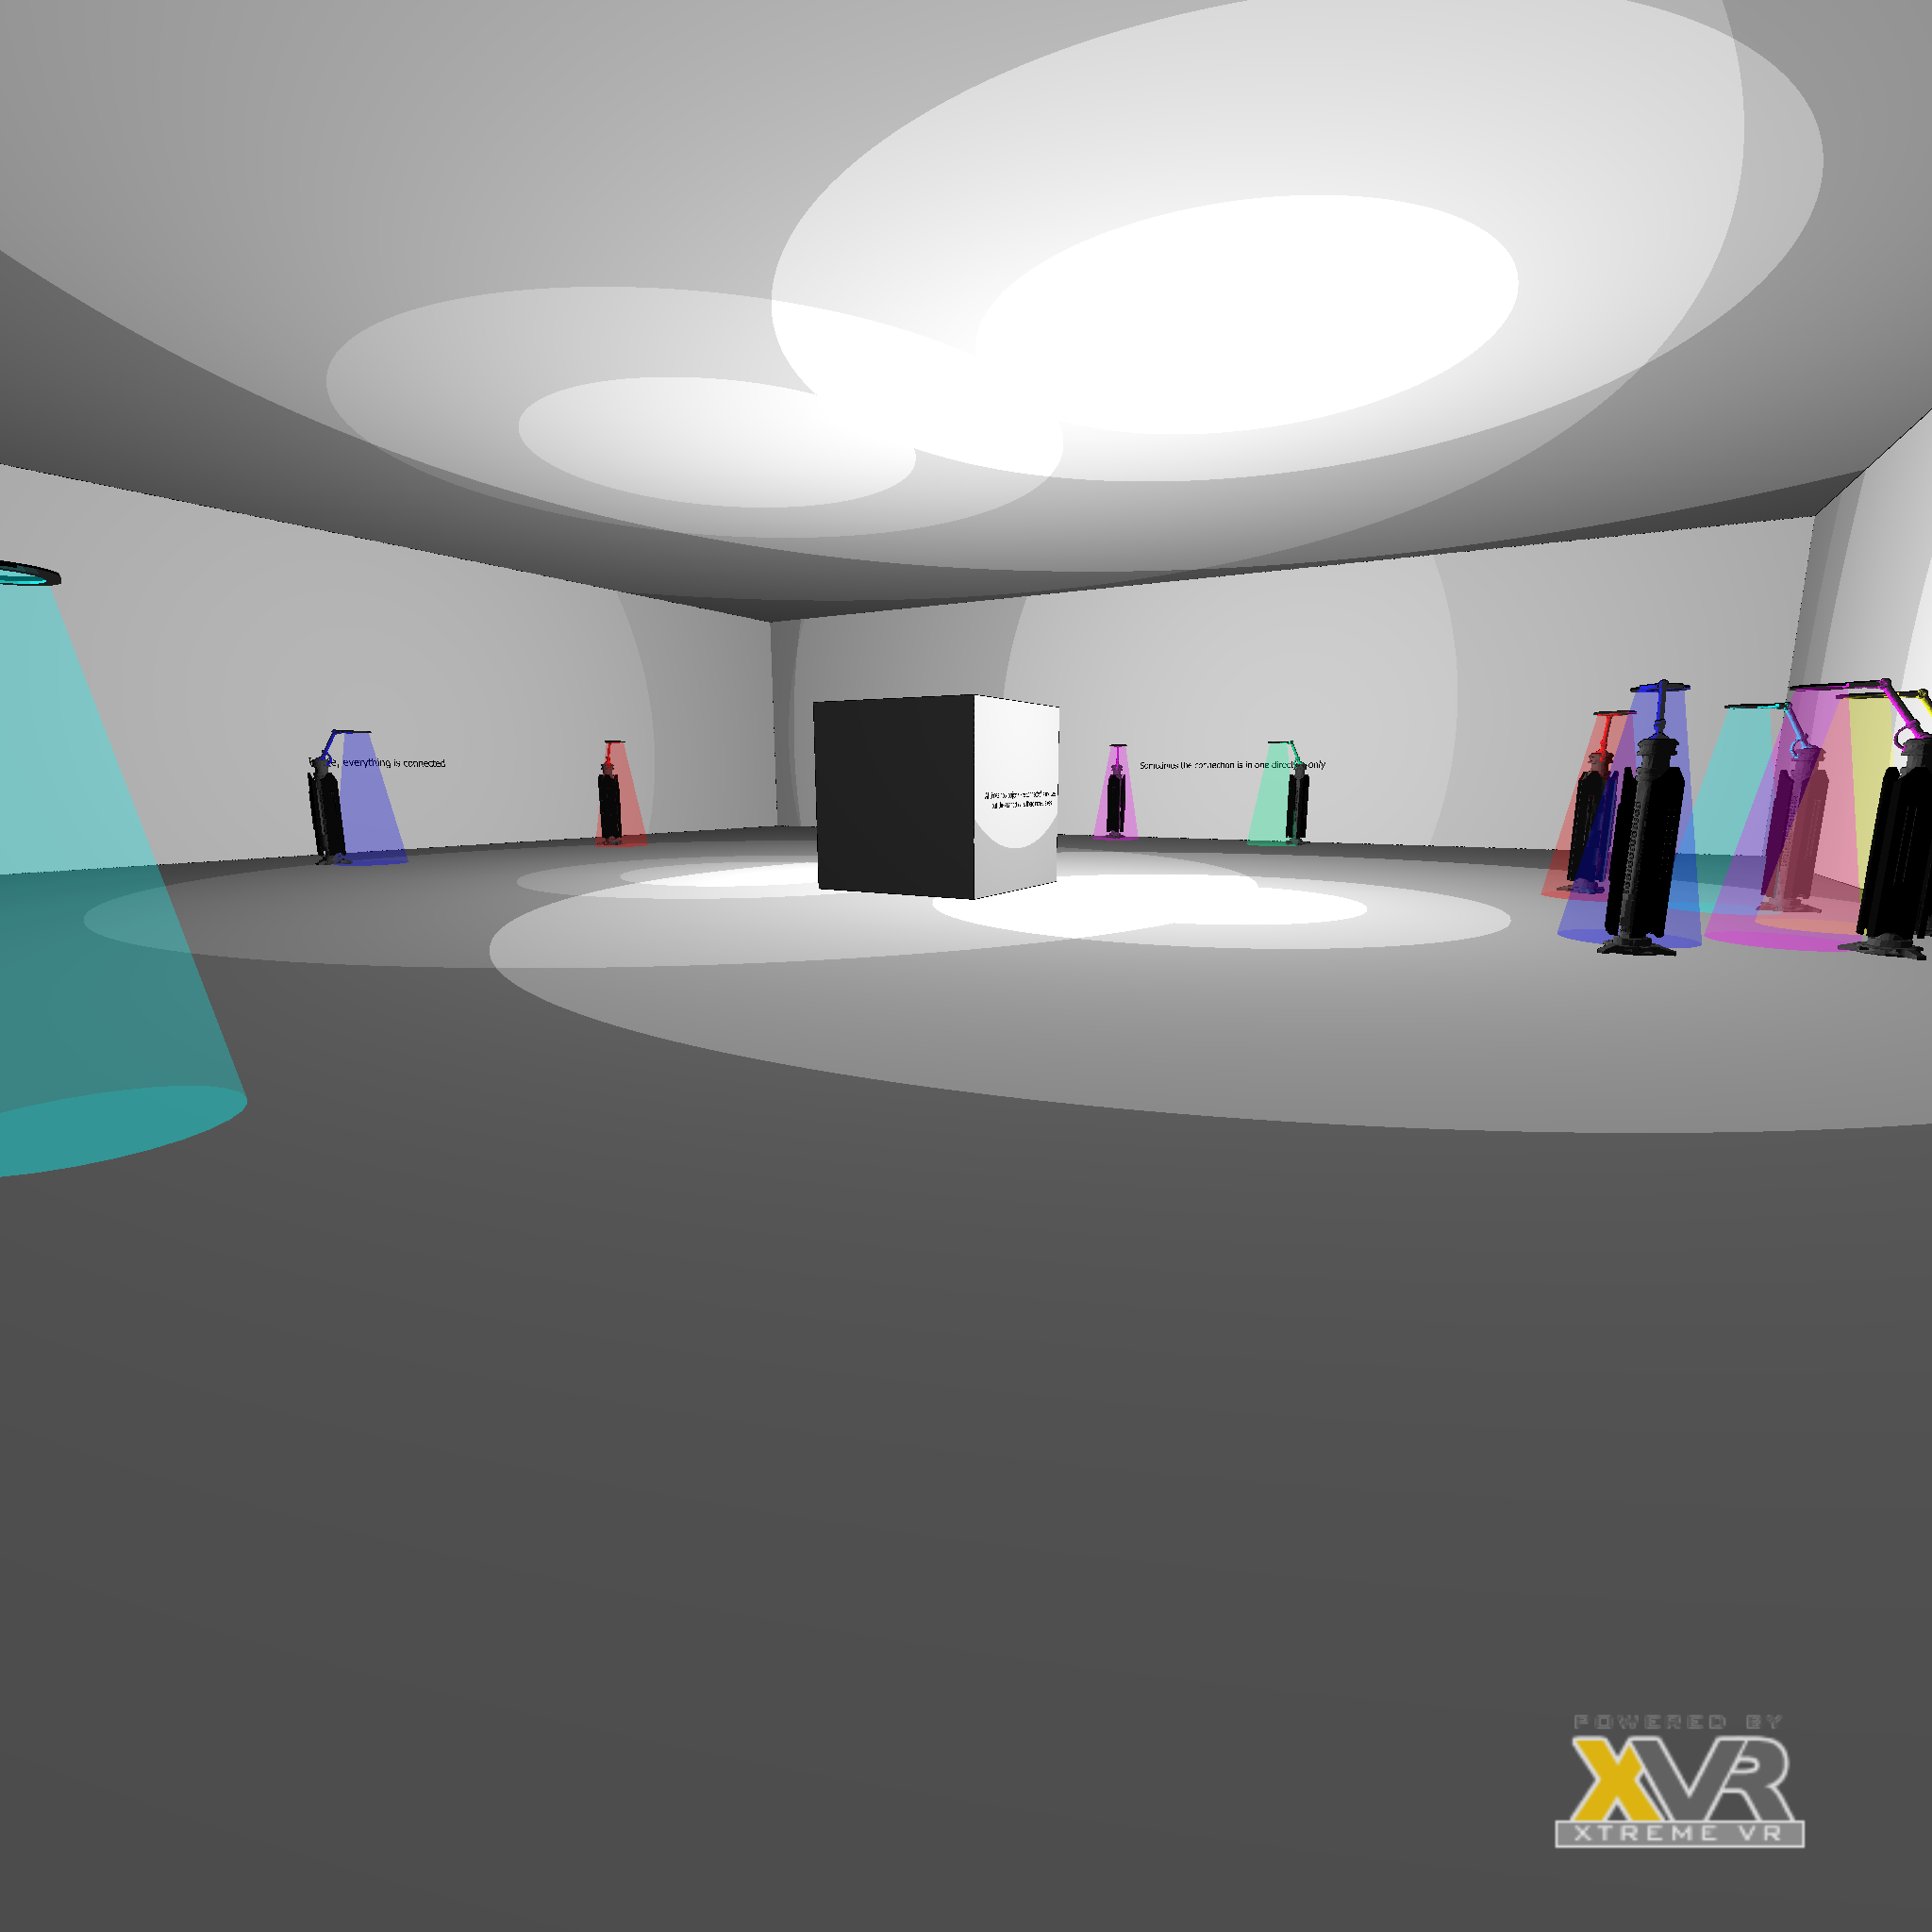
Level1: Drawing level. It’s called like that because of the 3d drawing by means of the vive controllers. The player will have to connect all of the light color cones in the correct order to proceed.
Level2: Drawing Level. Same as Level1 but with slightly different mechanics.
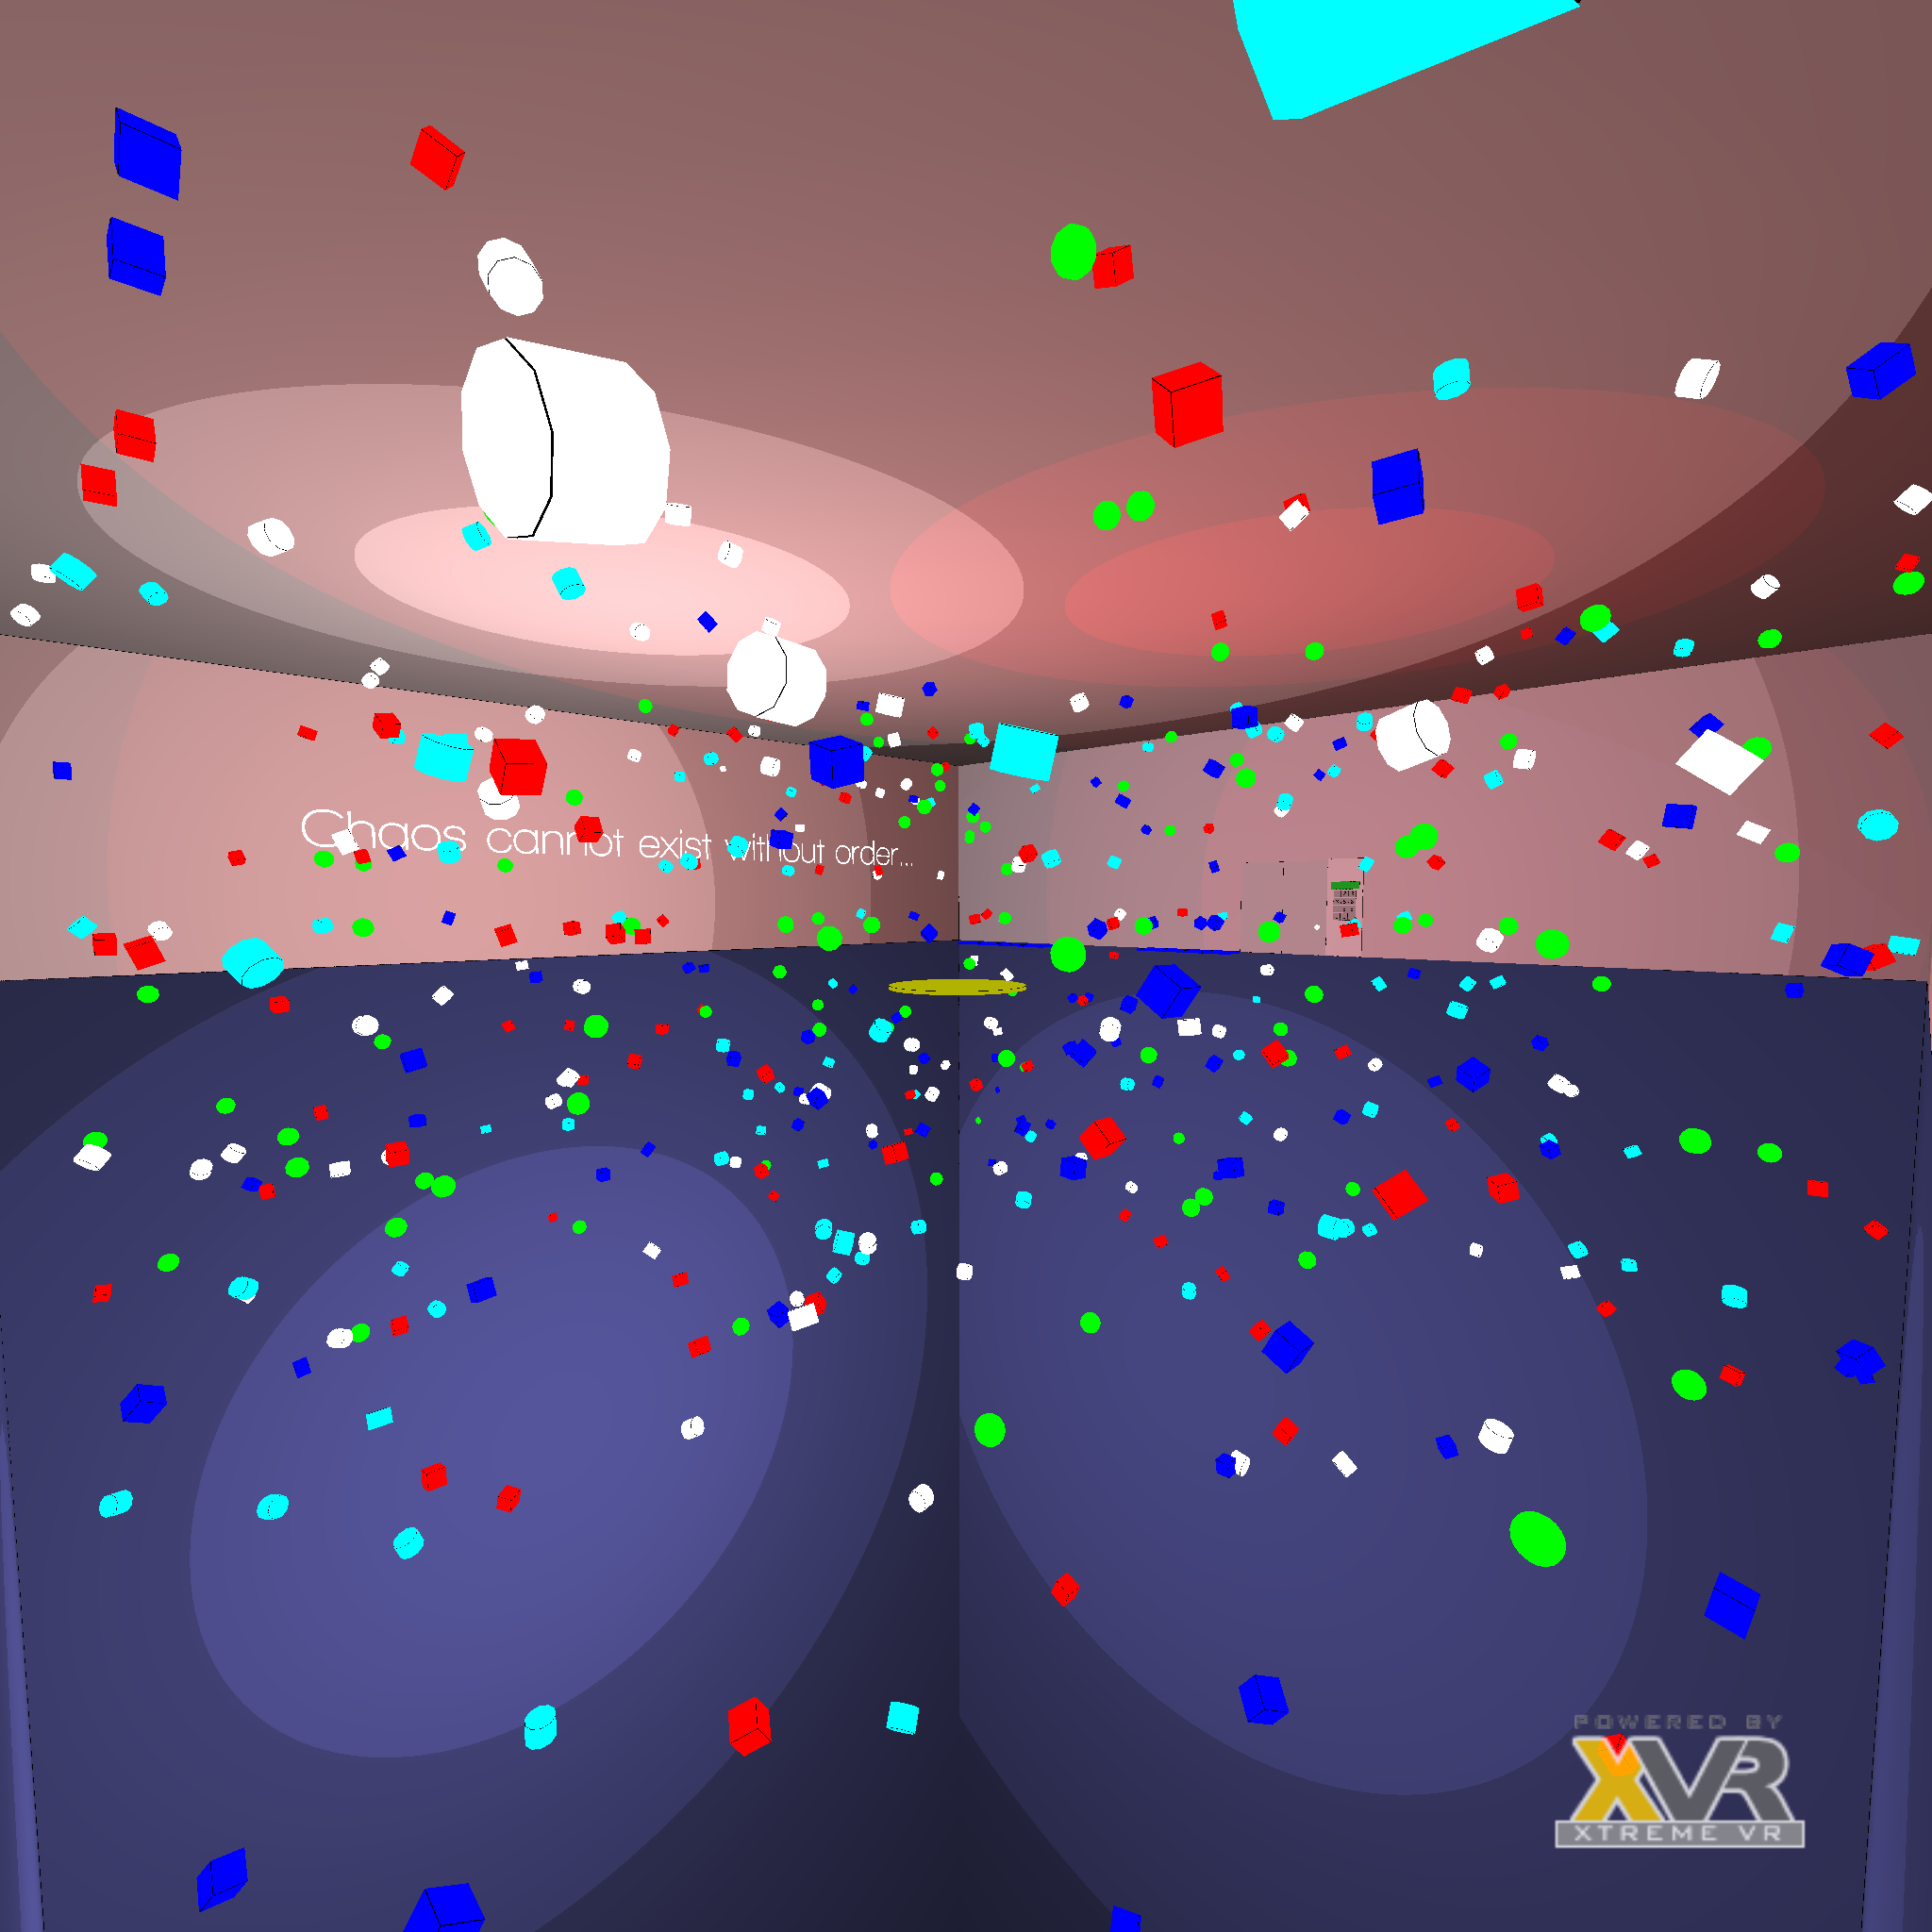
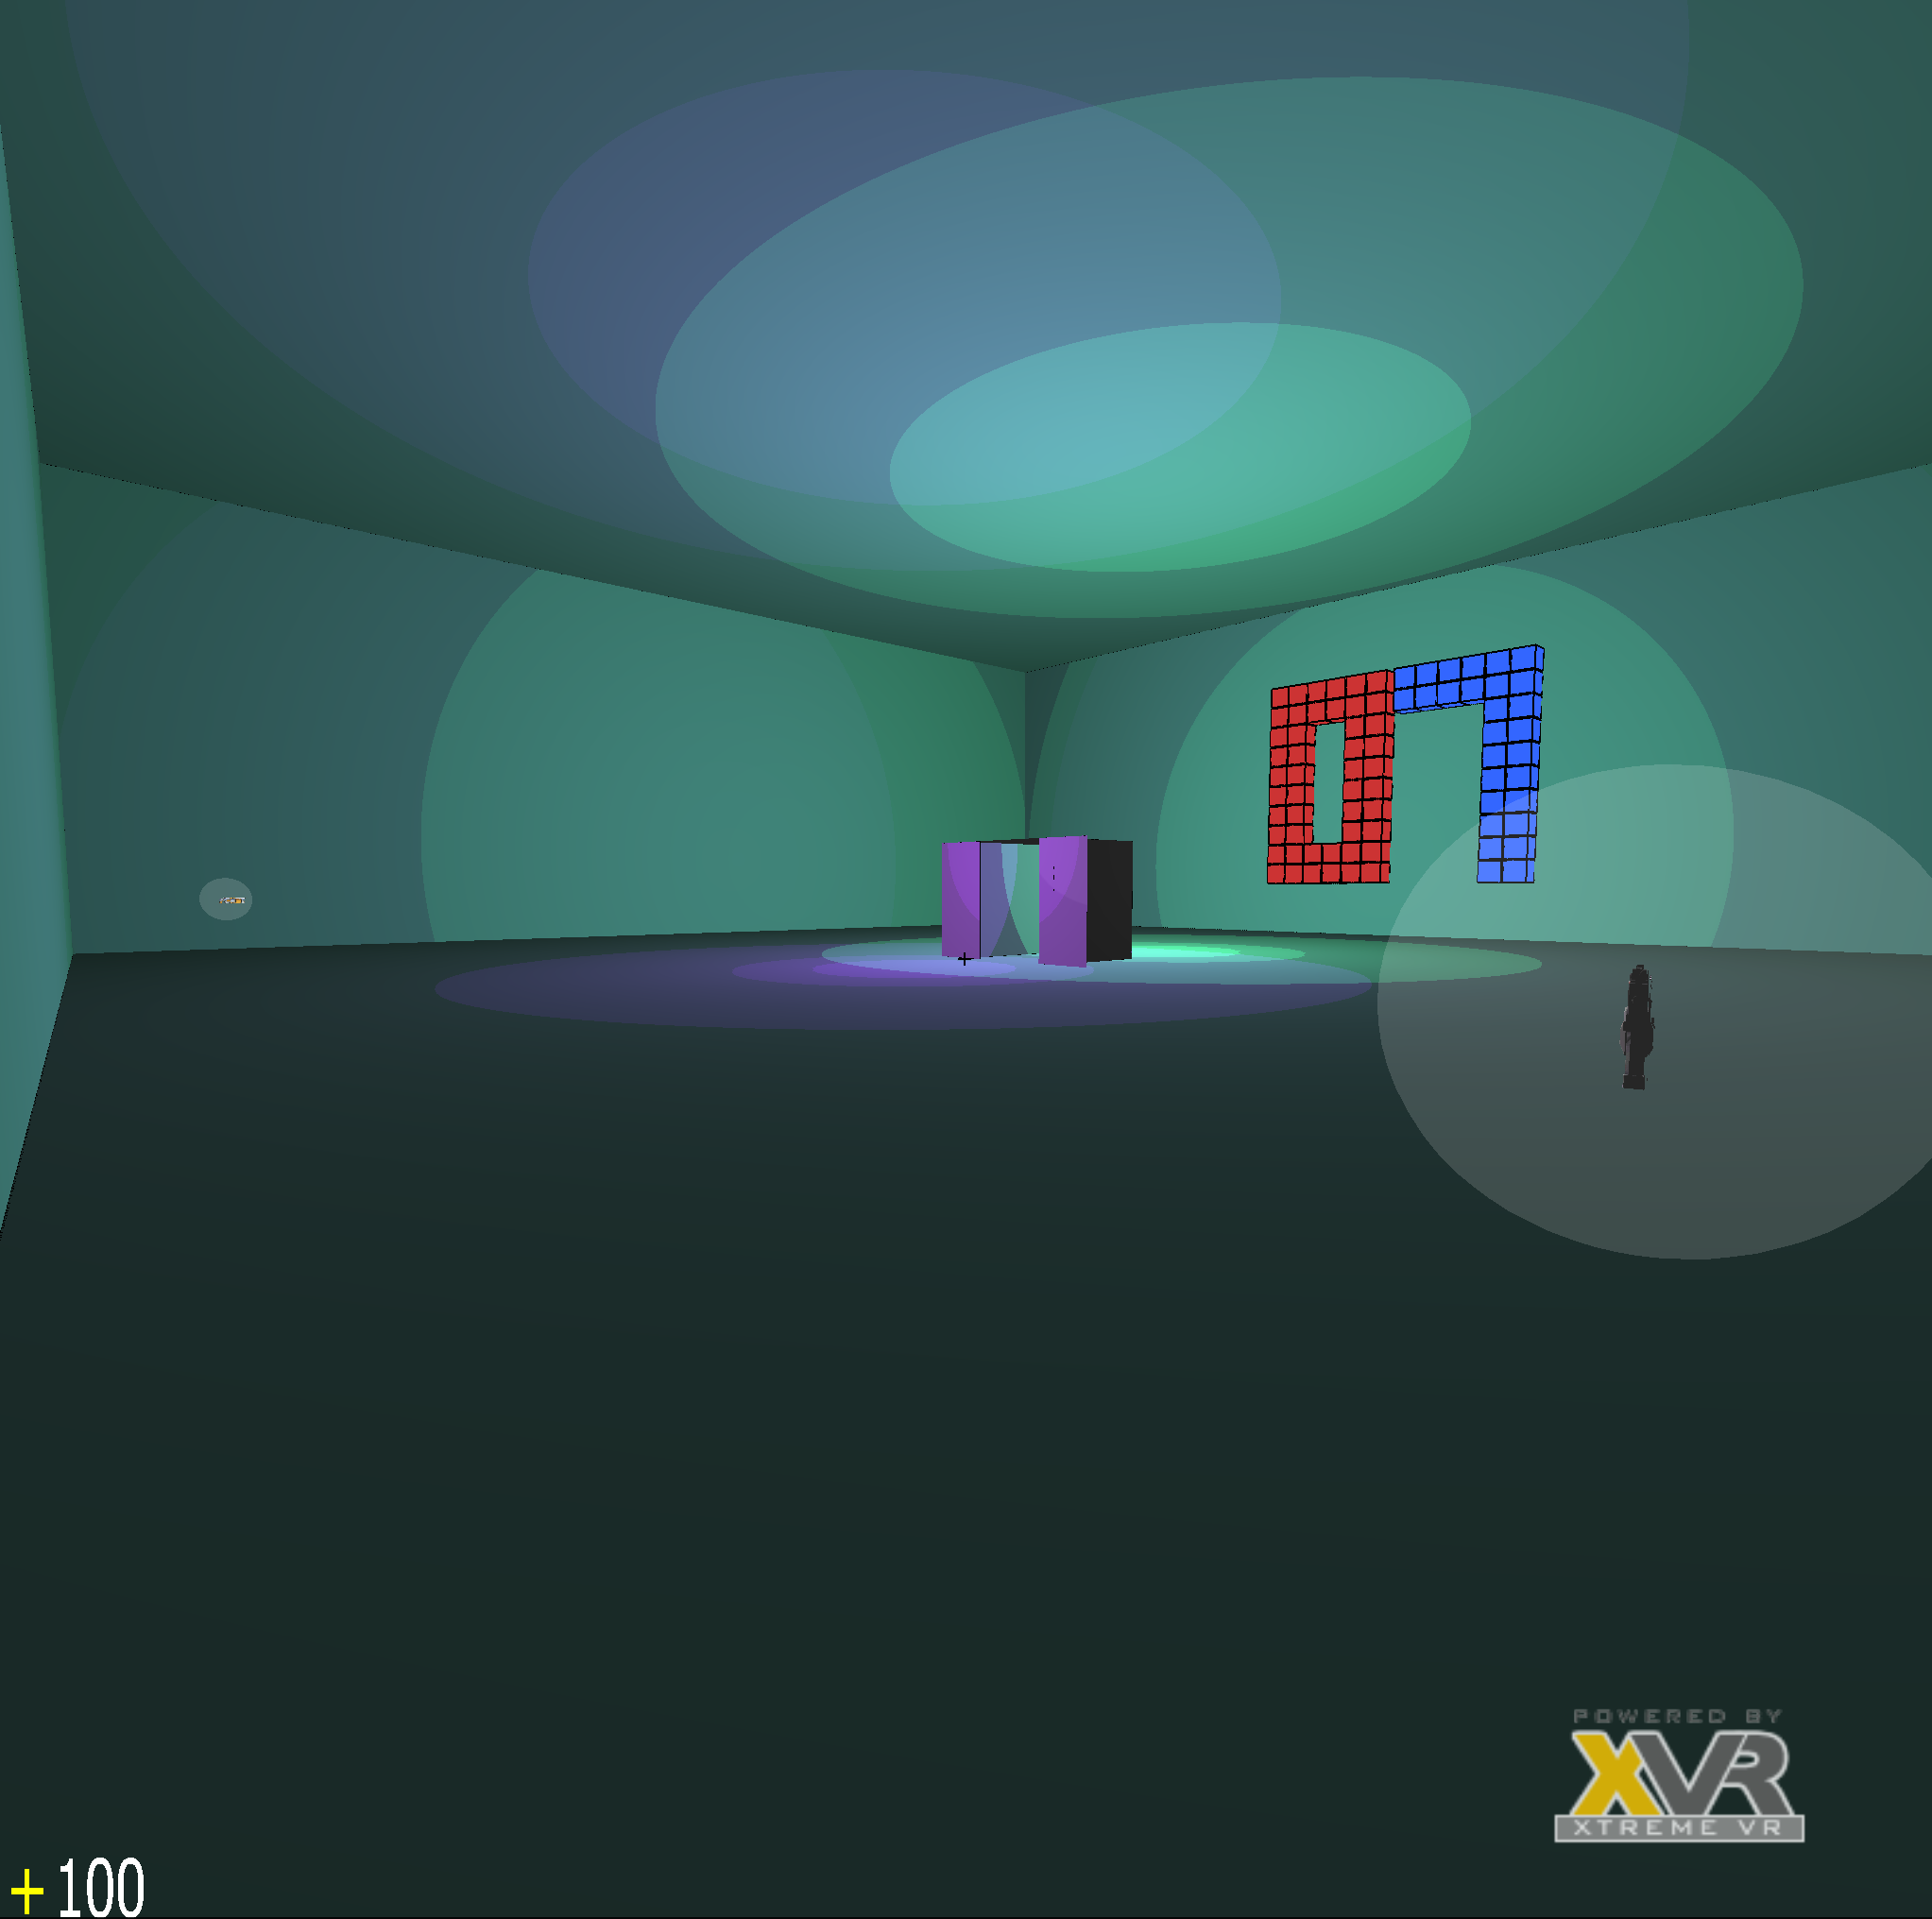
Level3: The player will find himself in a small room with flying moving objects and an invisible floor. Tiles will appear from the depth as the player moves around the room. Each path completion will animate the same color objects in order to form a number. All of the numbers will then form a code to be typed in the numpad besides the elevator.
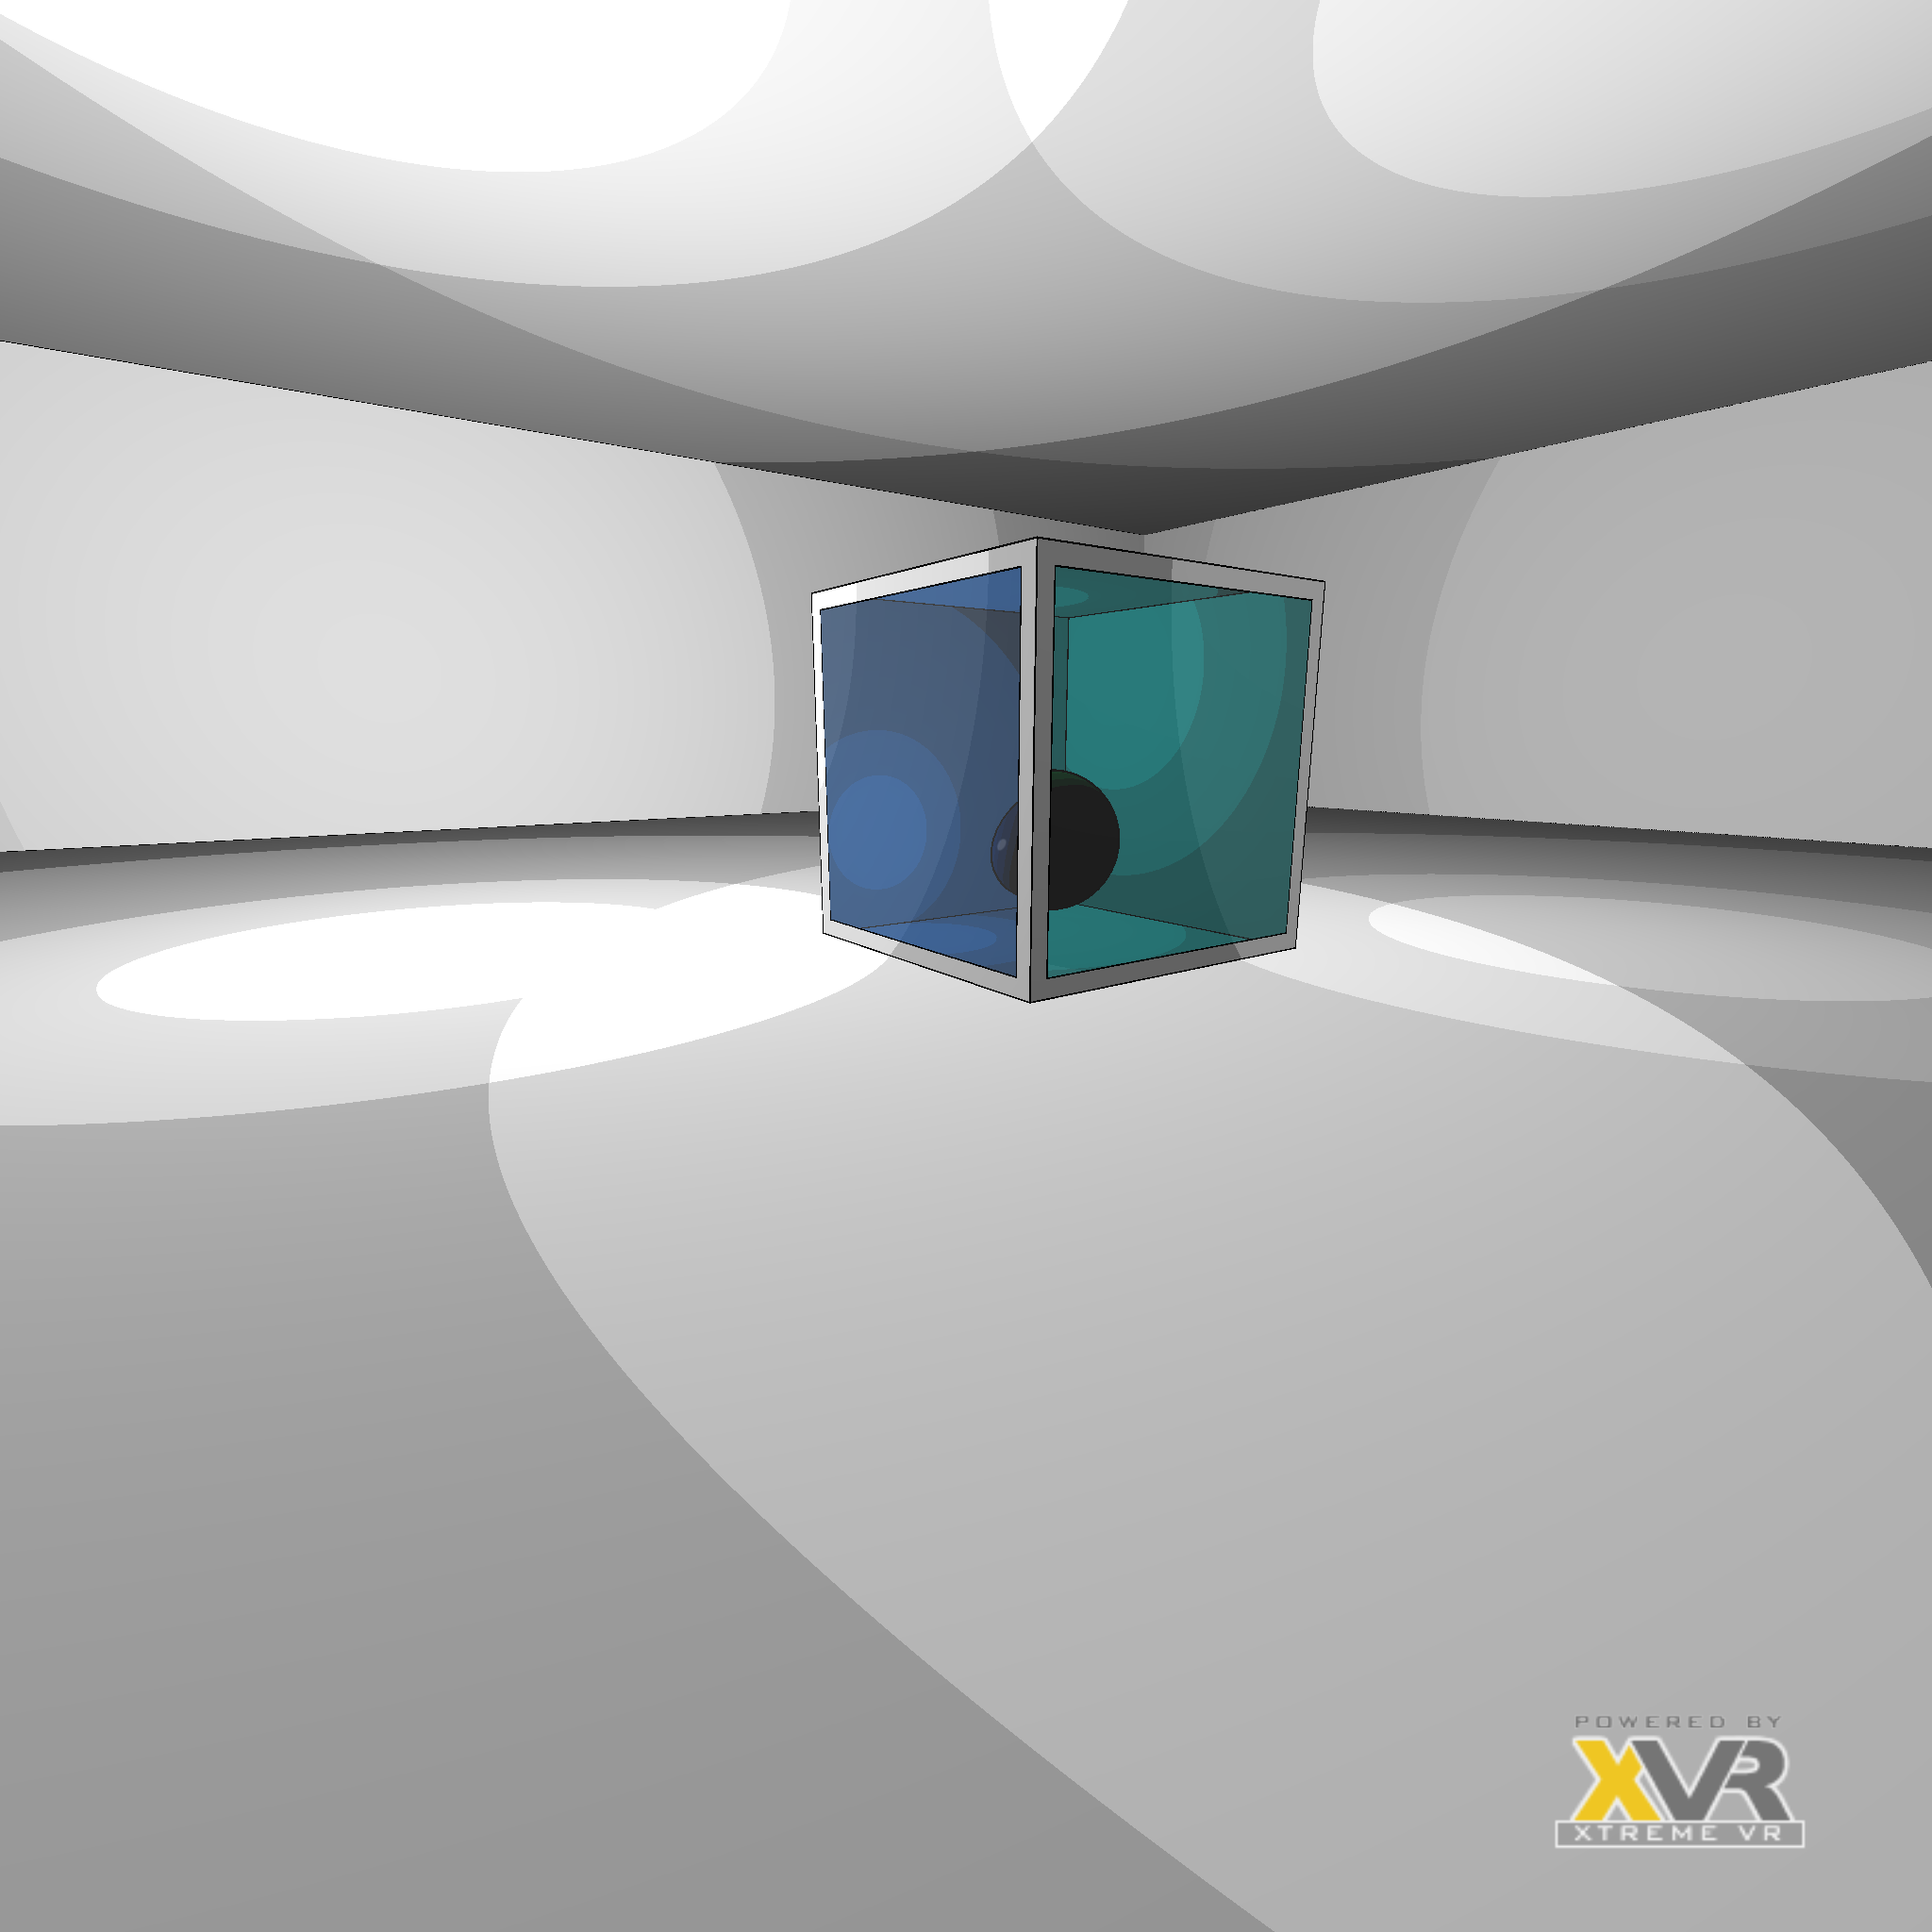
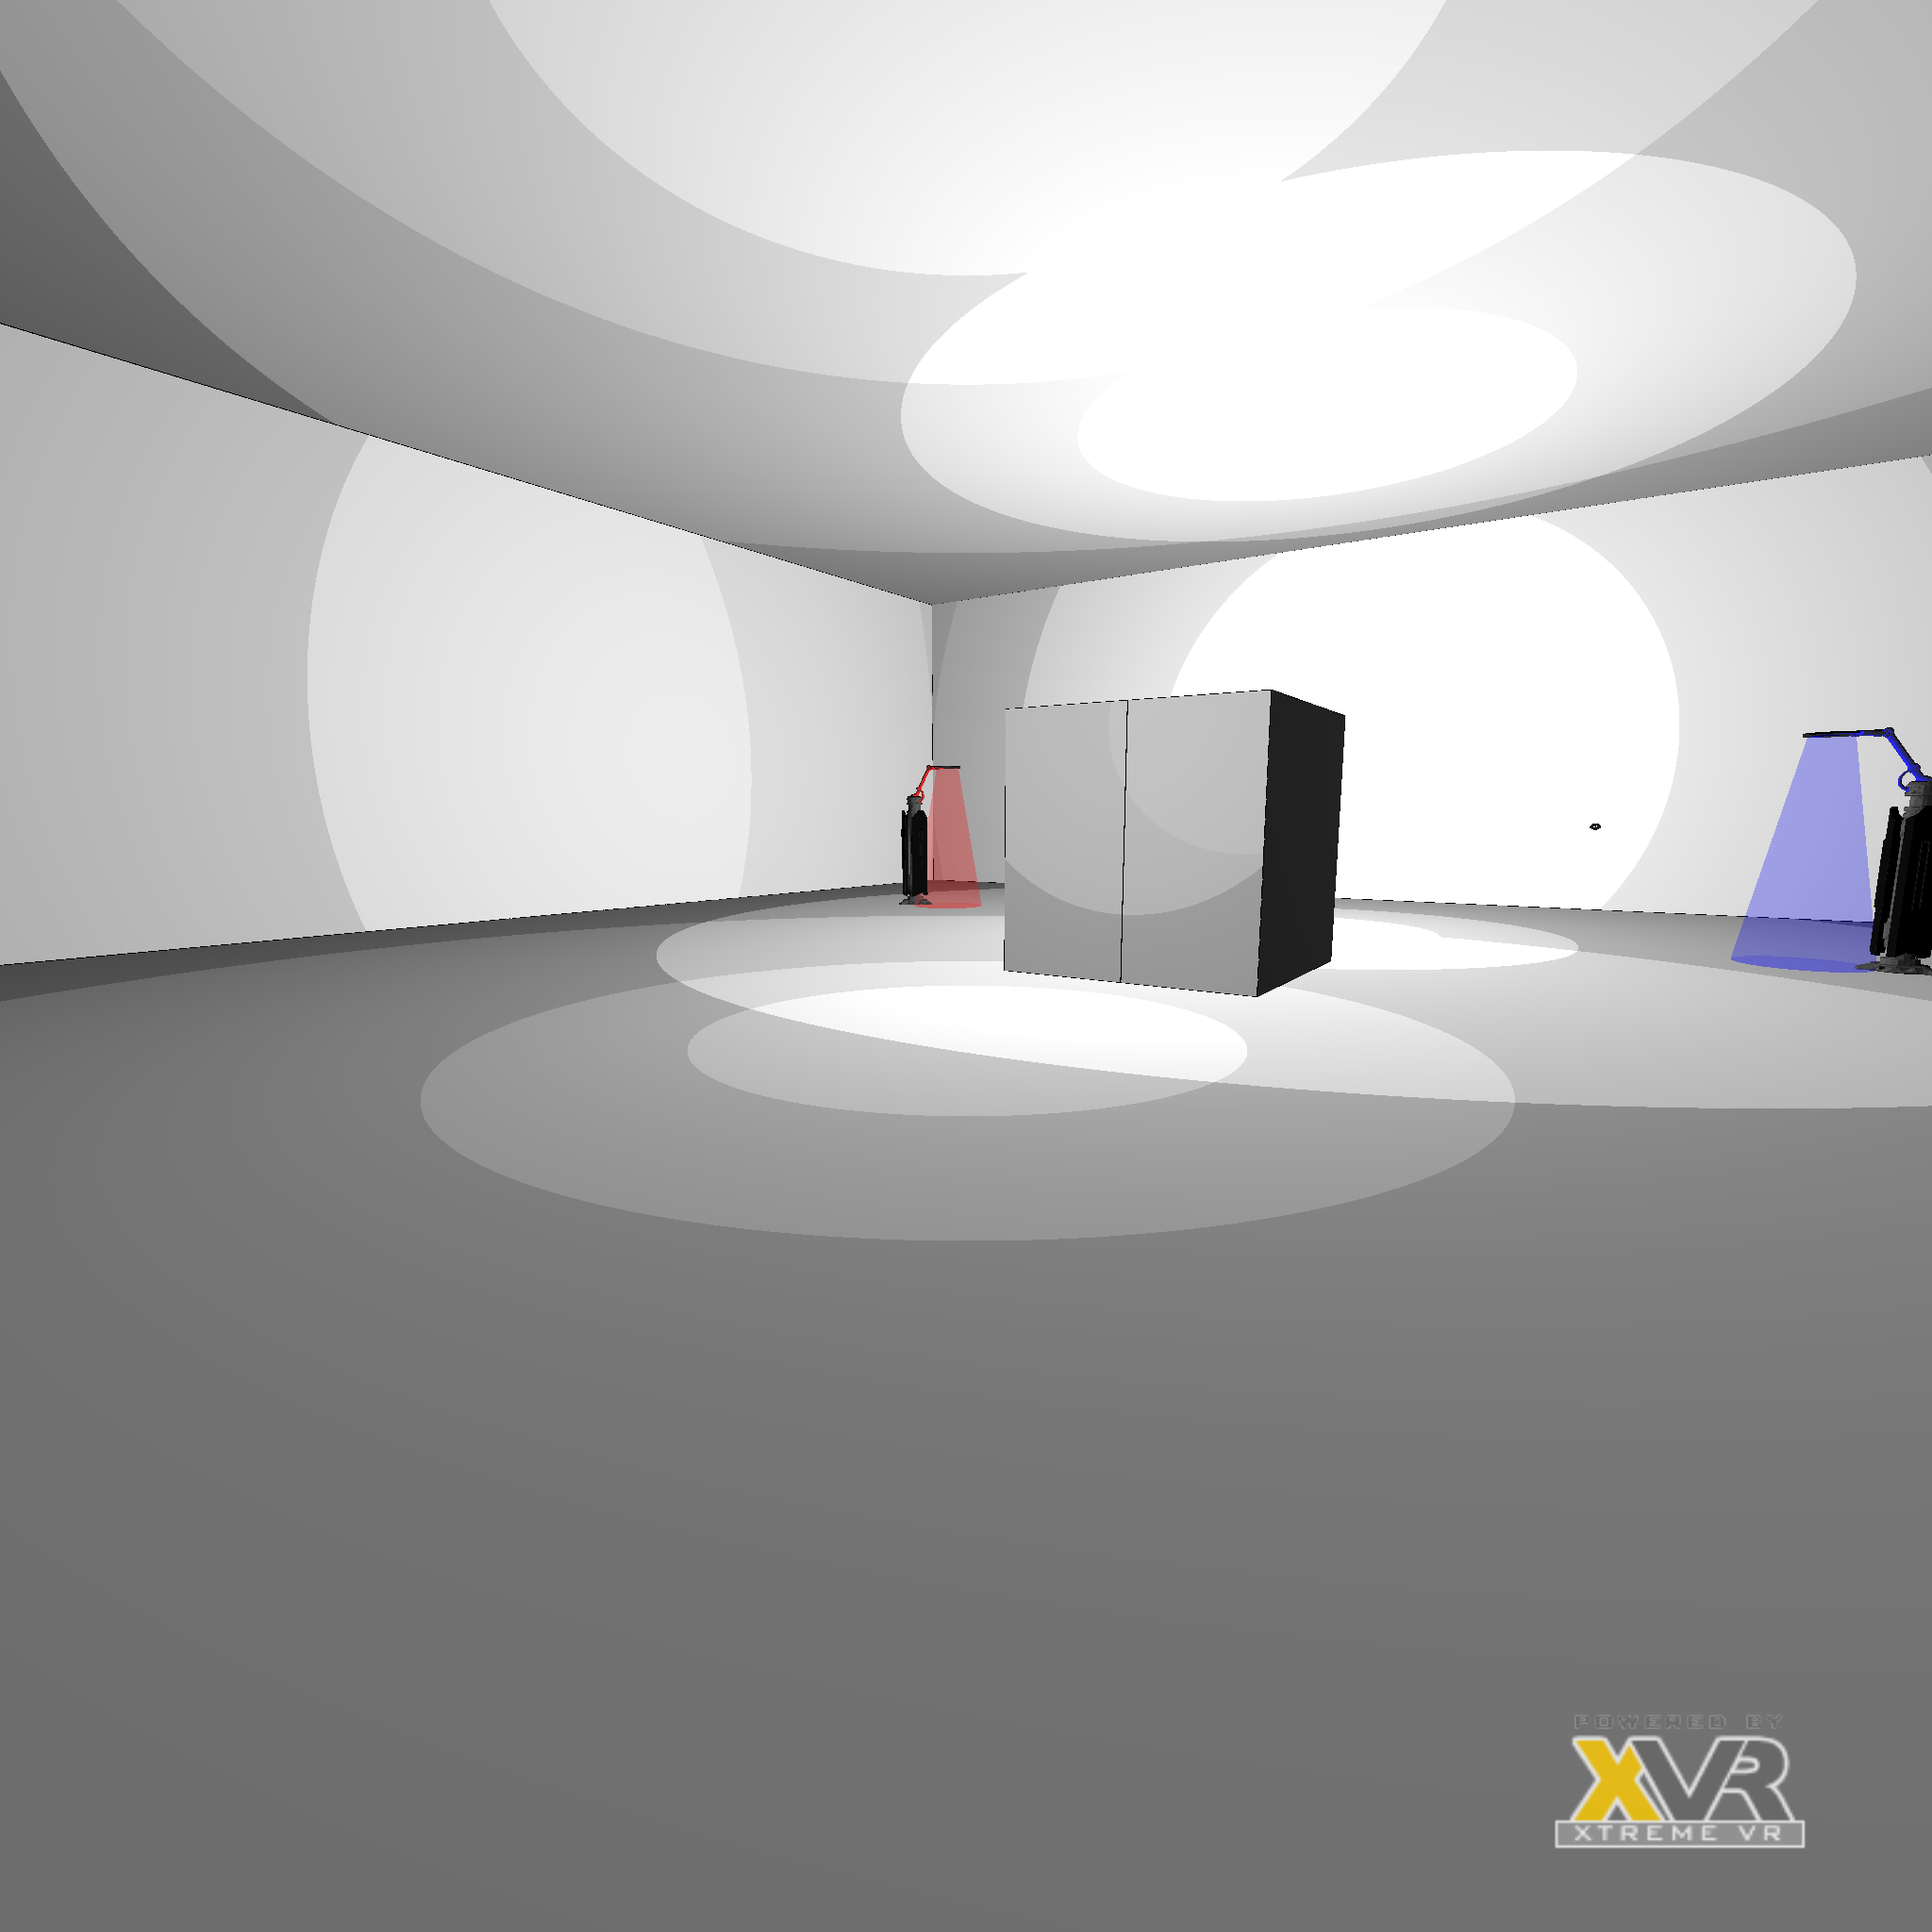
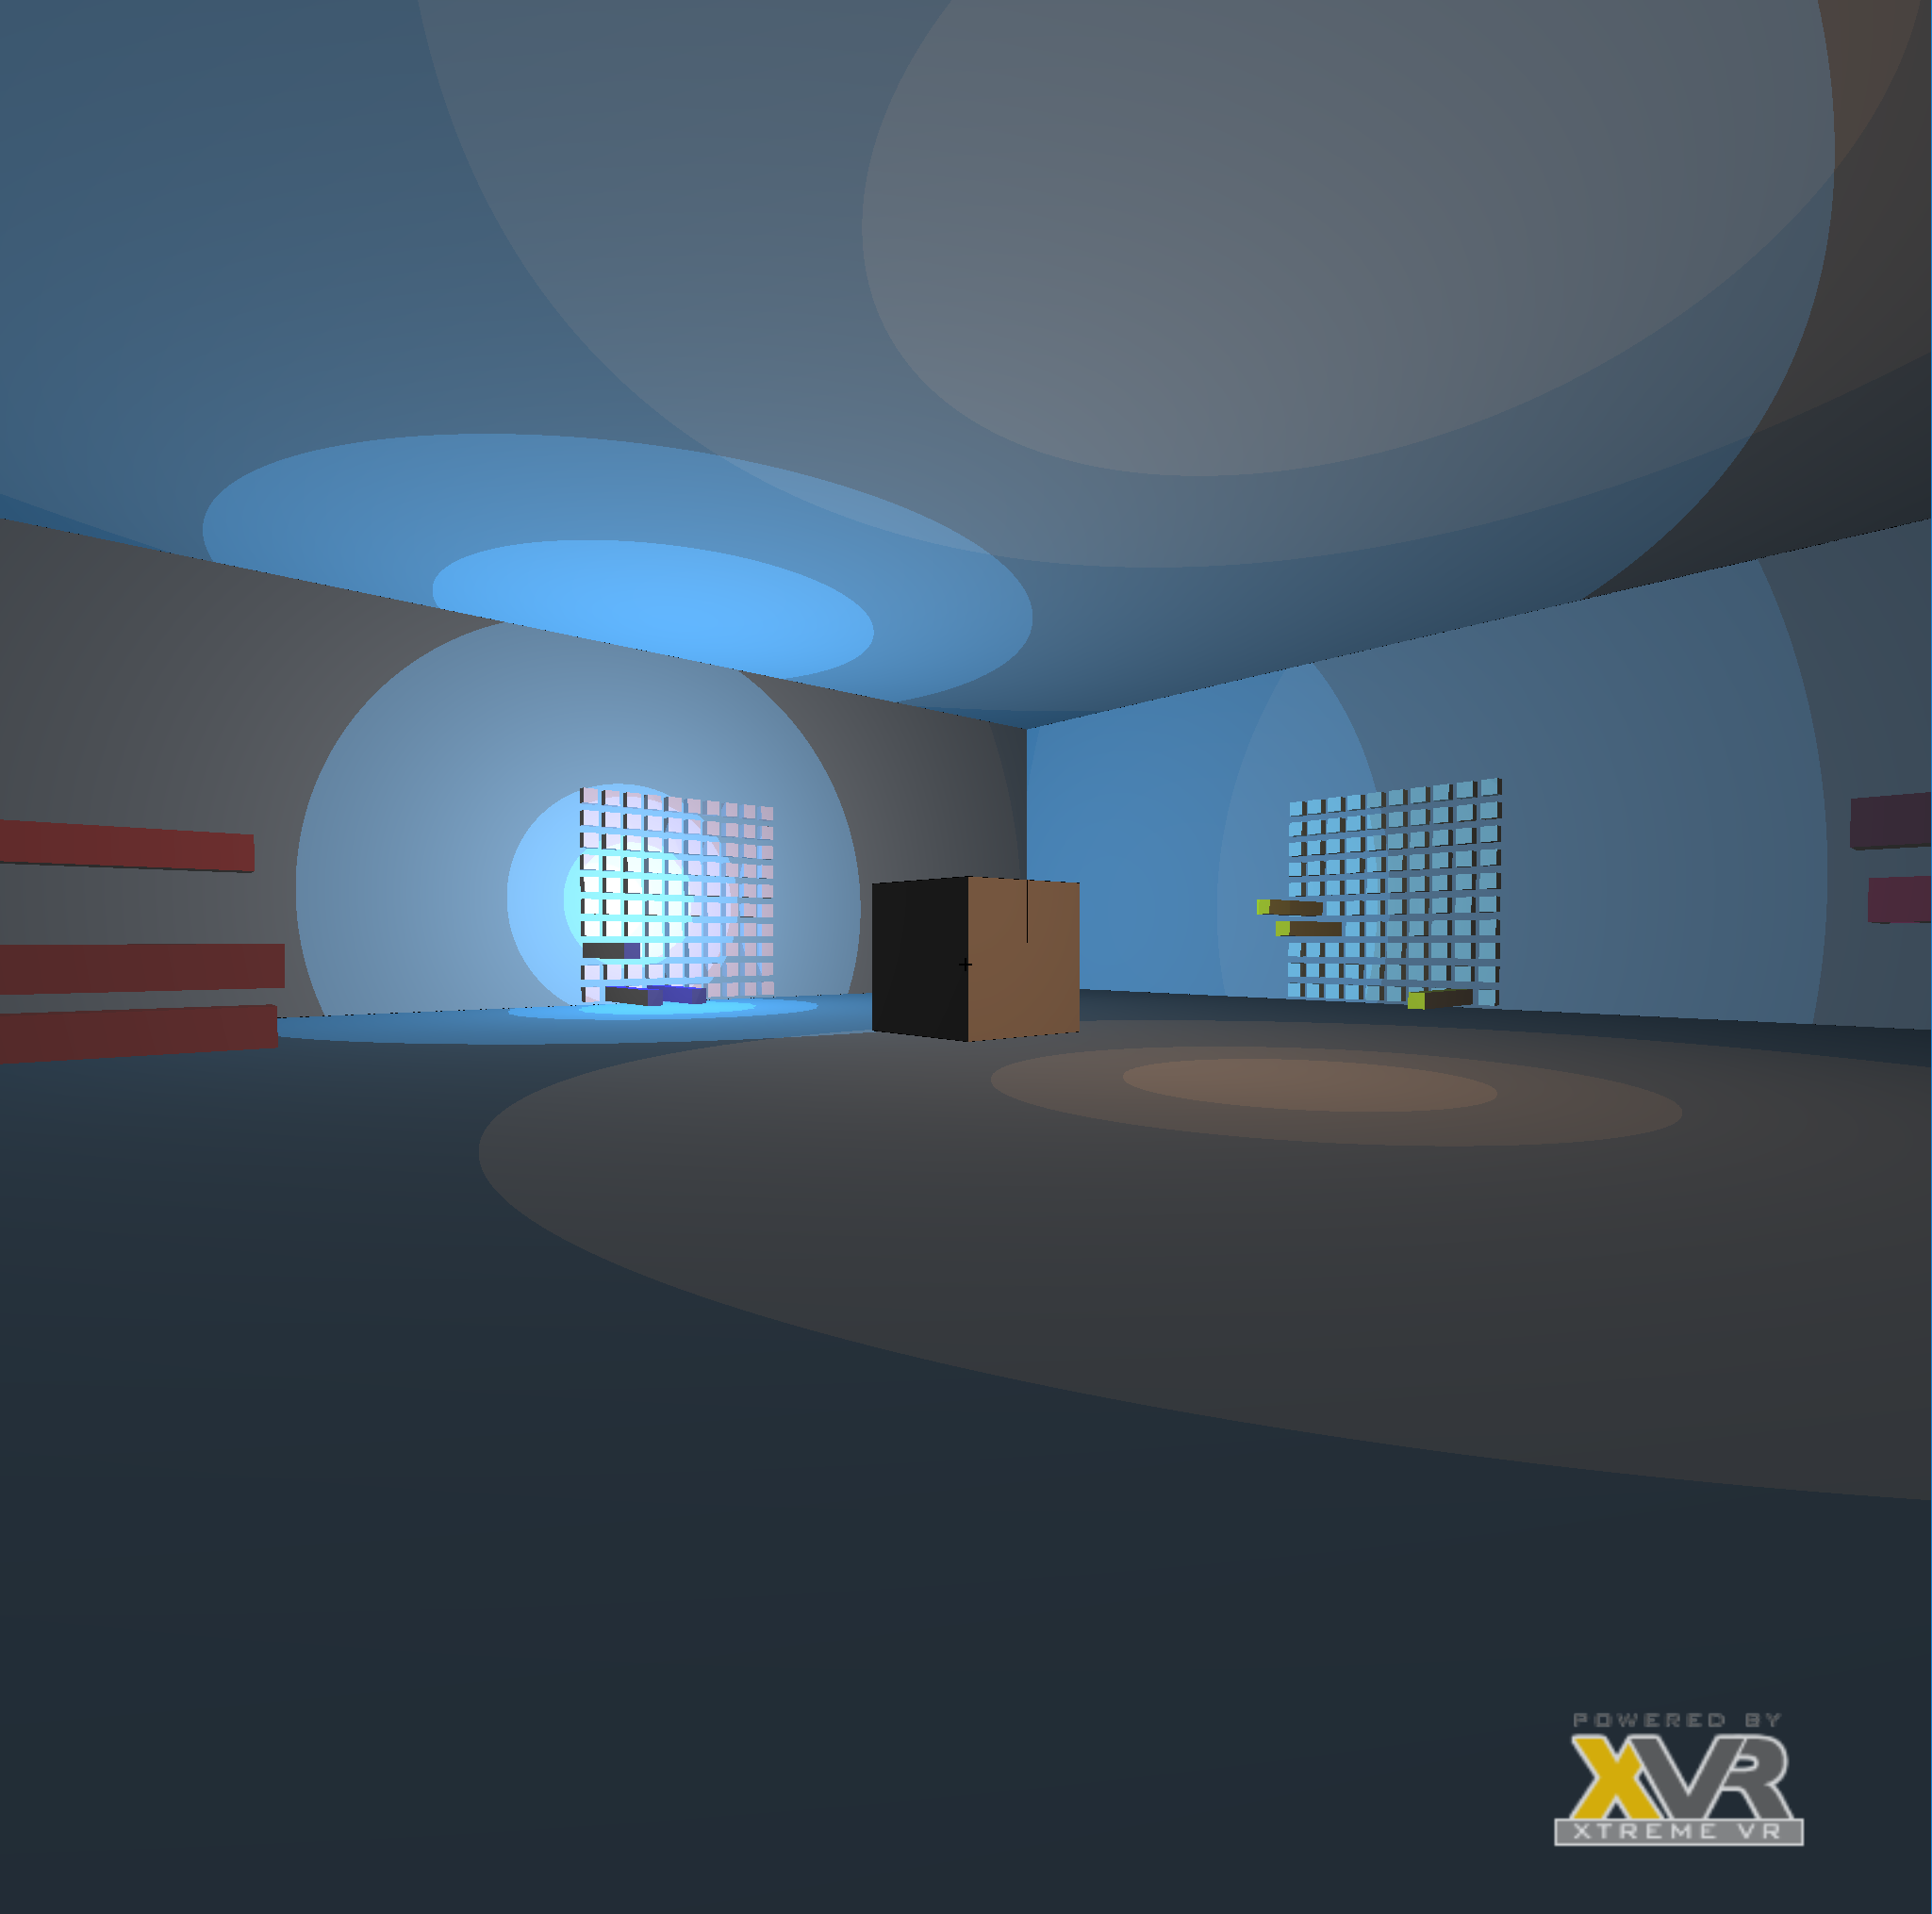
Level4: This is an easy level mainly created to exploit the vive controllers capabilites. The player will have to move back the outermost blocks at the same level as the others.
Level5: FPS style level. The player will have to shoot targets (still or moving), choosing among different weapons.
Level6: This one is tricky and will lead to the end of the game.
Main Classes
Classes for more complex objects were created such as:
- Virtual Keyboard and Numpad: These two classes defines an input device in the 3d world in order to insert codes or text for game mechanics
- Drawing Connectors: Light color cones used in level1 and level2
- Target, Gun and Bullet: Classes used by Level5. Target define the target which will move or stay still in the room and may shoot the camera while Gun define the weapon that the player will use to shoot the targets. Both targets and guns are highly customizable (mesh, color, animations, shooting delay, bullet mesh, speed ecc…).
- ButtonsWall: Class used to generate the walls in Level4
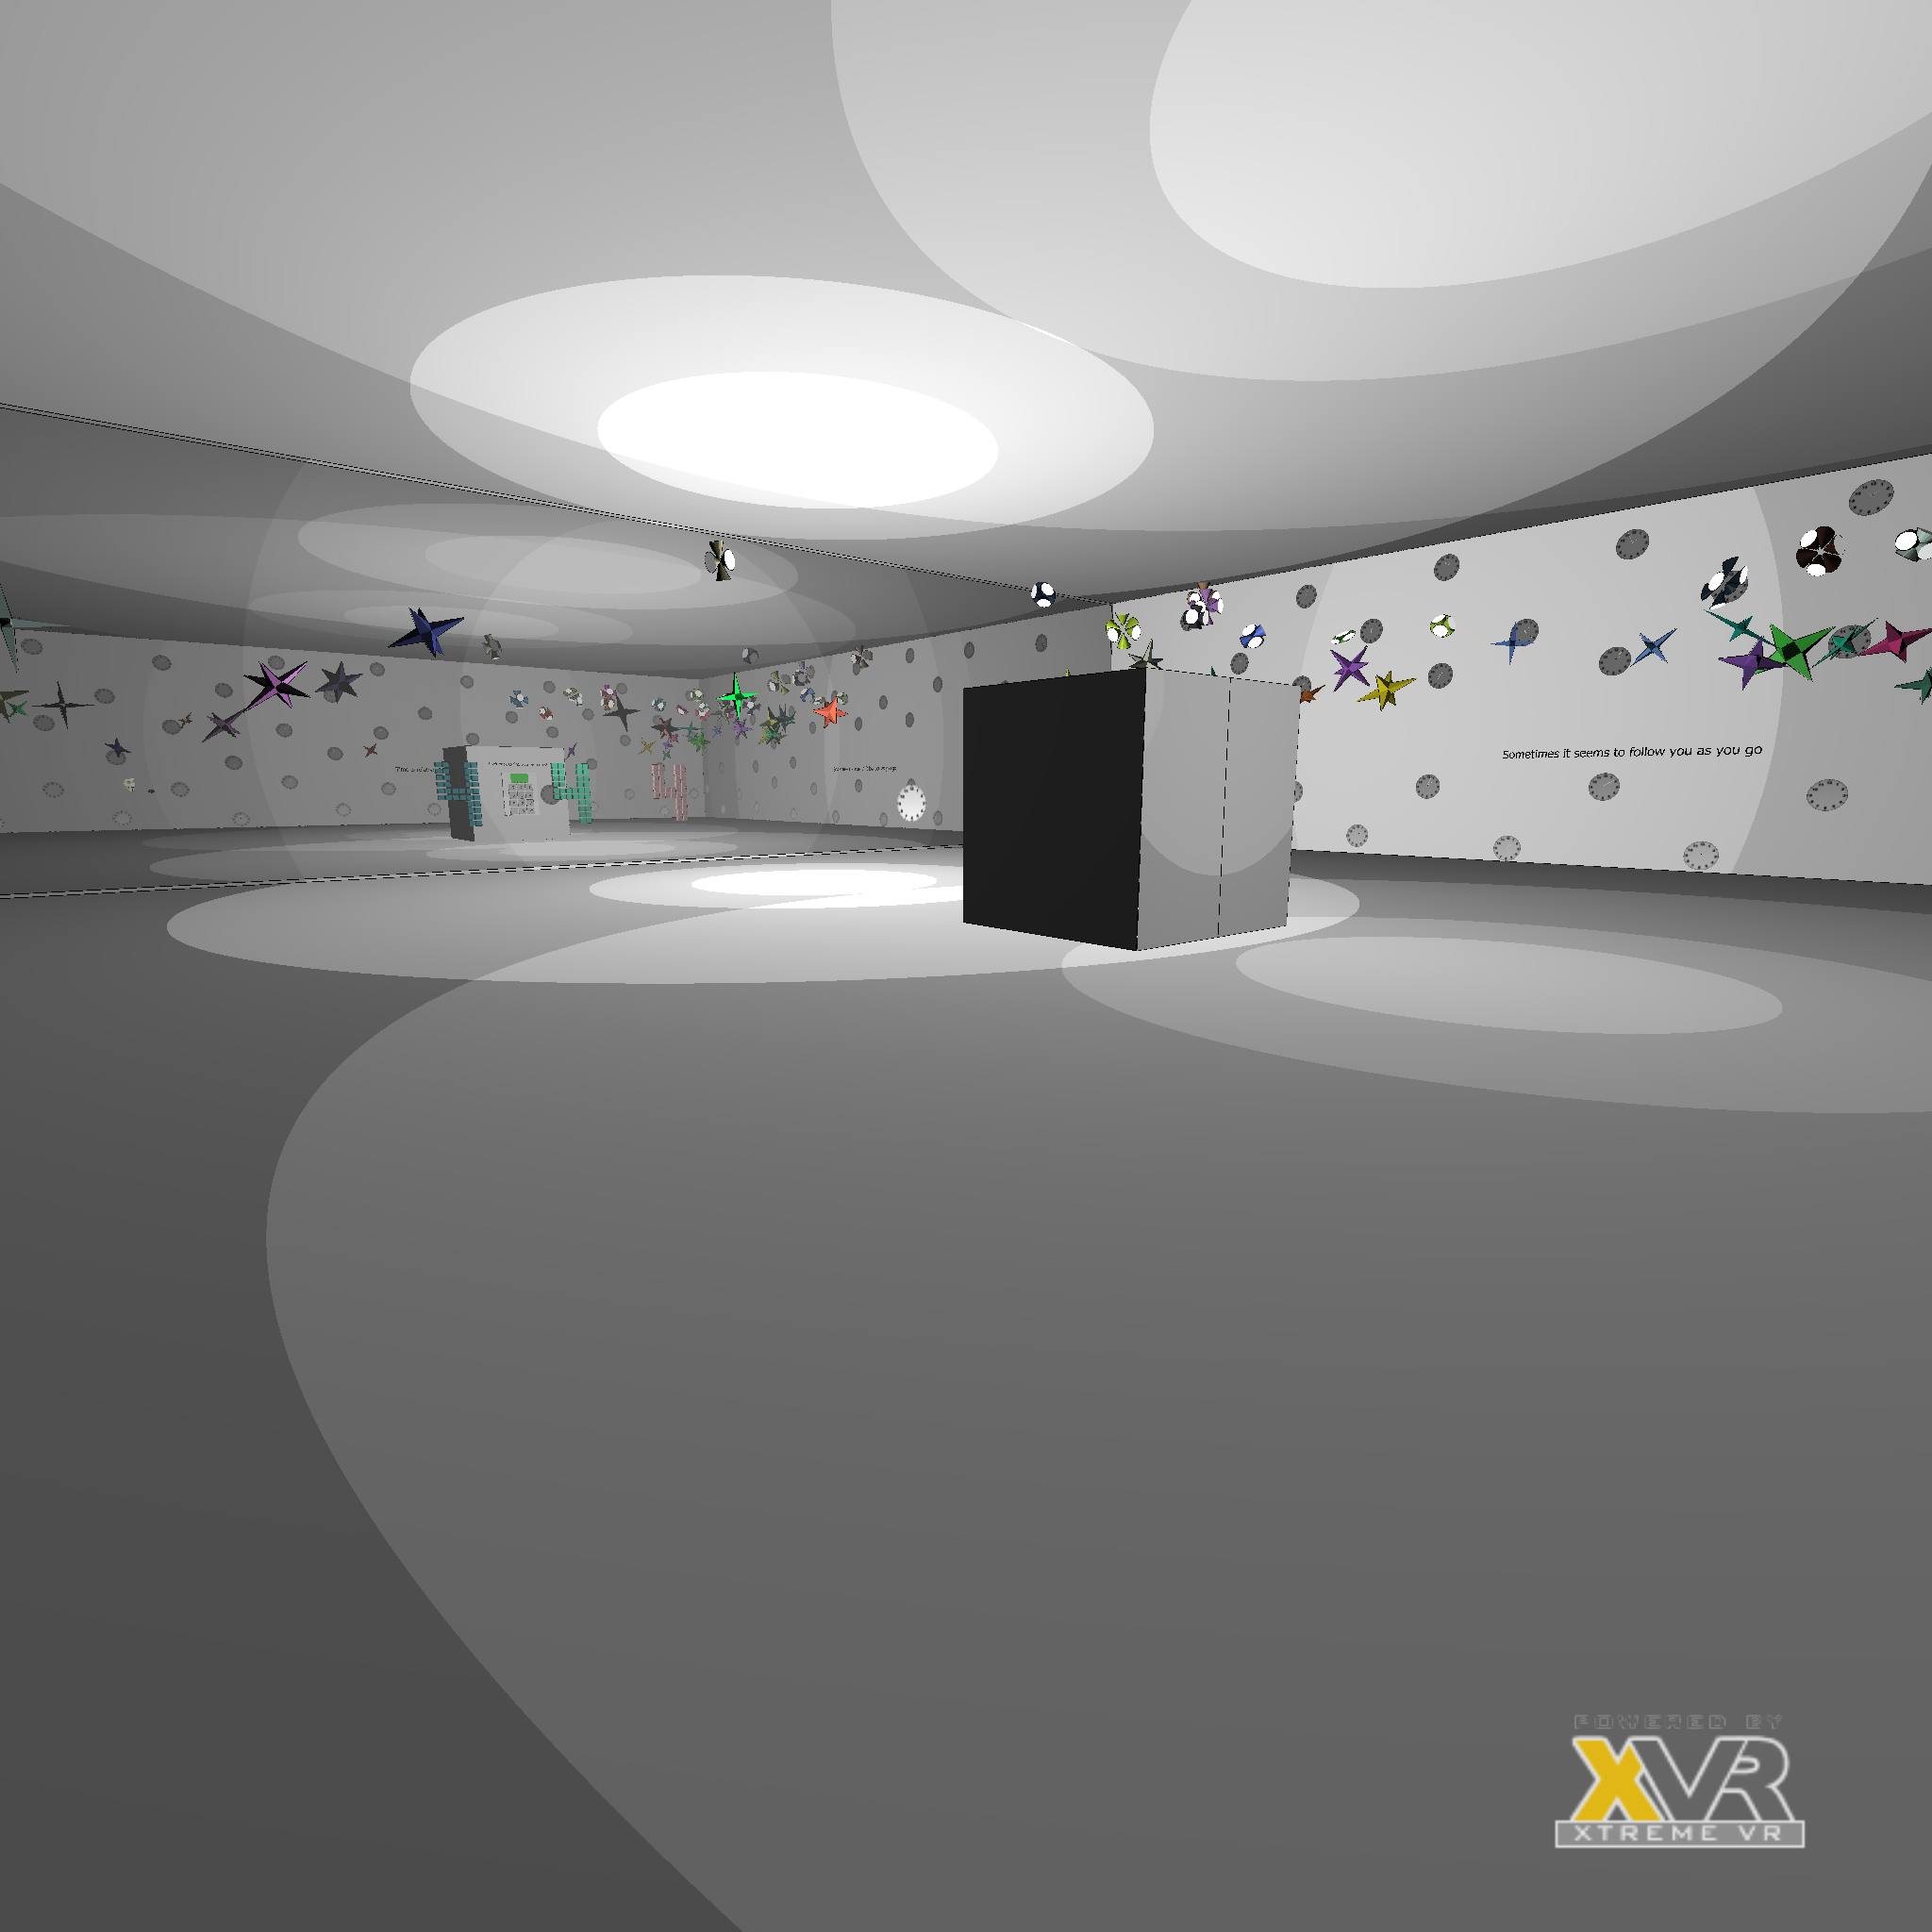
- RandomMeshes: This class generate a random set of elements given room coordinate, each one with its own random animations
- TilesPath: This class allows the player to create a path of meshes by defining turning points and number of steps in an array of directions. Customizable in distance between tiles, tiles size ecc…
Game Managers
The game mechanics are managed and organized by:
- GameManager: This class will call the levels cosntructor, Init() function, Render() function and UpdateLogicFunction(), with some other features not level-specific (teleportation or level switching)
- InputManagers: The game can be played with 3 different control schemes:
- Mouse and Keyboard: Managed by KeyboardManager() which inherits from the InputManager Class
- Gamepad (Xbox 360 or Xbox one): Managed by GamepadManager() which inherits from the InputManager Class
- Vive controllers: The ViveManager class is a bit more complex. It takes care of updating the controllers positions and rotations and buttons statuses from OpenVr (Through the FrancoDLL wrapper). It can also send vibration inputs to the controllers (limited by OpenVR), and get info about the chaperone.
- SoundManager: Self explanatory, it manages the sounds and music in the game
- ViveController: Create a Vive Controller Obj (Mostly used by the ViveManager) that will take care of
- Updating the status of the controller like:
- Visual feedback of botton status (e.g touchpad coordinates or grip pressure)
- Computing the correct BoundingBox
- Highlighting the controller when an action is available
- Animator: One of the most important classes in the game which allows to create customizable animations.
- There are different types of animations:
- Transition animation from point to point(s)
- Rotation animation from angle to angle(s)
- Scaling animation from scaling array to scaling array(s)
- Rotation Around point
- Mesh “diffuse” parameter animation, from value to value(s)
- Light color transition from value to value
- Generic value transition (tracked with an animationId), from value or array to value(s) or array(s)
- For each of the above animations it is possible to define:
- Looping: Decide whether the animation will stop after it reach the desired value or the last value of the array, or it will cycle until removed
- Time: How long the animation from a value to another value will last
- Easing: The kind of easing in or out desired:
- linear
- cubic
- quadratic
- Besides, it is also possible to:
- Track value state given the obj or the animationID (if generic) associated with the animation
- Remove animation given the obj or the animationID (if generic) associated with the animation
- Check whether the object or an animationID has or not an animation associated
- There are different types of animations:
Shaders
A lot of different Shaders have been defined, I will list the most used:
- ToonShader: The one that gives the cartoonish feeling
- DrawingShader: Used for 3d drawing
- SimpleColor: Used for showing available actions
All of the sounds were generated with sound generators or professional programs All of the meshes were exported in AAM format with blender 2.49b version, and were moslty found on sketchfab.com and properly modified.
How to play it
- Download the XVR engine from http://www.vrmedia.it/wiki/index.php?title=Downloads
- Download the project
- Import che project (mantaining the folder structure) into XVR engine
- Build and play
Technical examples
Animator Tutorial
It is possible to create animations (that will immediately start, right after the creation) using the animator, in the following way:
var mAnimator = Animator(); //Initialize animator

//Functions to create a new animation that will automatically start
mAnimator.CreateTransition(object, startingPos, endingPos, time, loop, easingType);
mAnimator.CreateRotatingTransition(object, startingAngle, finalAngle, axis, time, loop, reverse);
mAnimator.CreateScalingTransition(object, startingScale, endingScale, time, loop, easingType);
mAnimator.CreateRotationAroundPointTransition(object, startingPoint, centerPoint, period, loop, randomness, clockwise);
mAnimator.CreateToonShaderColorTransition(mesh, startingColor, endingColor, time, loop, easingType);
mAnimator.CreateLightColorTransition(openglLight, startingColor, endingColor, time, easingType);
mAnimator.CreateGenericTransition(transitionId, startingValue, endingValue, time, easingType);


GetCurrentStateInTransition(object, transitionType); //Returns the value of the animations (position, rotation ecc...)
ChangeScaleFactors(newFactor); //Makes ALL the active animations faster or slower (default factor 1.0)
RemoveTransitionByObject(object, isRotating); //Remove an active transition from an object
HaveTransition(object, isType); //Return true if the object passed has an animation associated

InvertTransitions();

/** MOST IMPORTANTLY **/
/** This function must be called at every game loop in order to update the animation values
like positions, rotations, scaling ecc... The new value is computed every time
dt is the difference between the lastTime the function has been called and the actual time **/
UpdateTransitions(dt);
Vive Controllers Tutorial
The vive controllers are actually managed by 2 classes:
- ViveManager: This class updates the controller matrix and its button states by calling the relative functions on the DLL. It will also update the camera associated with the hmd in order to reflect rotation and position in the real life.
- ViveController: This class manages the actual Object which is made up of the different meshes of the controller parts (body, touchpad, trigger button…). Its function UpdateStatus() will update the controller object to reflect user actions:
- Will show a small sphere where the user is touching the touchpad
- The trigger will be tilted according to the amount of pressure the user is using
- Each button will be pressed according to its states
The ViveManager initializes two different ViveController istances and will update their values at each game loop, which is why it is needed to call the updateCOntrollers() and updateCamera() methods at each loop.
function Init(){
	var mHMD = CVmExternDLL( "FrancoDLL.dll" );
	var mViveManager = ViveManager(mHMD);
	mViveManager.SetActiveCamera(mCamera);

	//We'll now get the controllers in order to draw them when we need
	var mControllers = [mViveManager.GetController(1), mViveManager.GetCOntroller(2)];
}

function UpdateLogic(){
	mViveManager.UpdateCamera();


	//The vive Manager will also update the visual status of the controller by calling controller.UpdateStatus()
	//for each controller, so there no need to do it manually, just draw the controller!
	mViveManager.UpdateControllers(mOpenglTranslationOffset);

	foreach(var controller in mControllers){
		mViveManager.IsPressingPrimaryButton(controller.GetIndex());
		mViveManager.IsPressingSecondaryButton(controller.GetIndex());
		mViveManager.IsGripPressed(controller.GetIndex());
		mViveManager.HasPressedMenuButton(controller.GetIndex());
		mViveManager.VibrateController(controller.GetIndex(), microseconds);

		controller.SetActionAvailable(isActionAvailable); //Will show a yellow border around the controller
	}
}

function Render(){
	foreach(var controller in mControllers){
		controller.Draw();
	}
}
A presentation about the project can be seen at: Presentation (code of the presentation is also on GitHub)
The project’s code is available on GitHub